Long, strong, voluminous lashes in just ten minutes? To me, it’s a dream come true. This is what the DIY Lash Extensions from Nanolash are supposed to guarantee. Because cosmetics companies rarely deliver on a promise, I decided to test and review premade at-home lash extensions by Nanolash!
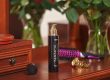
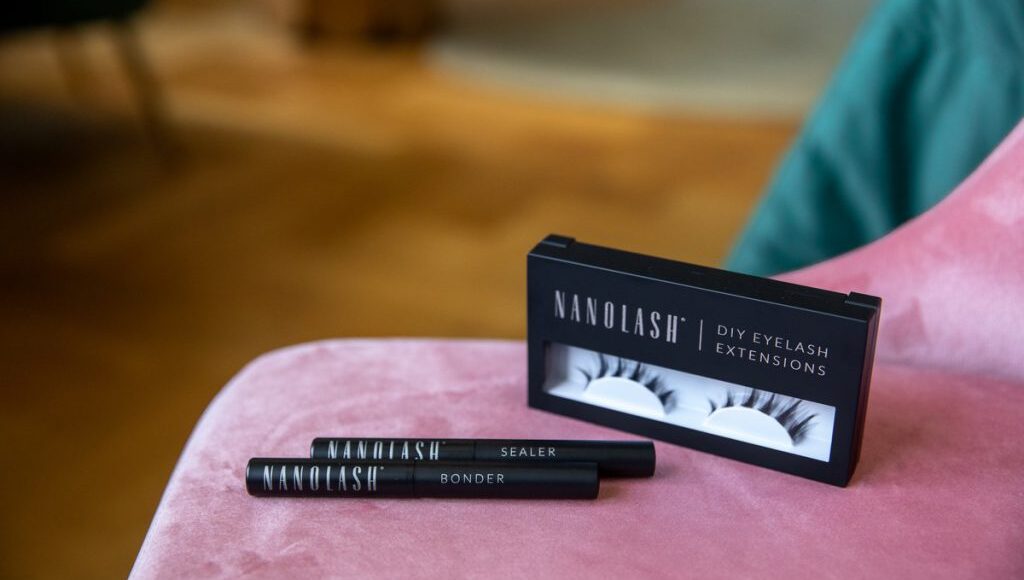
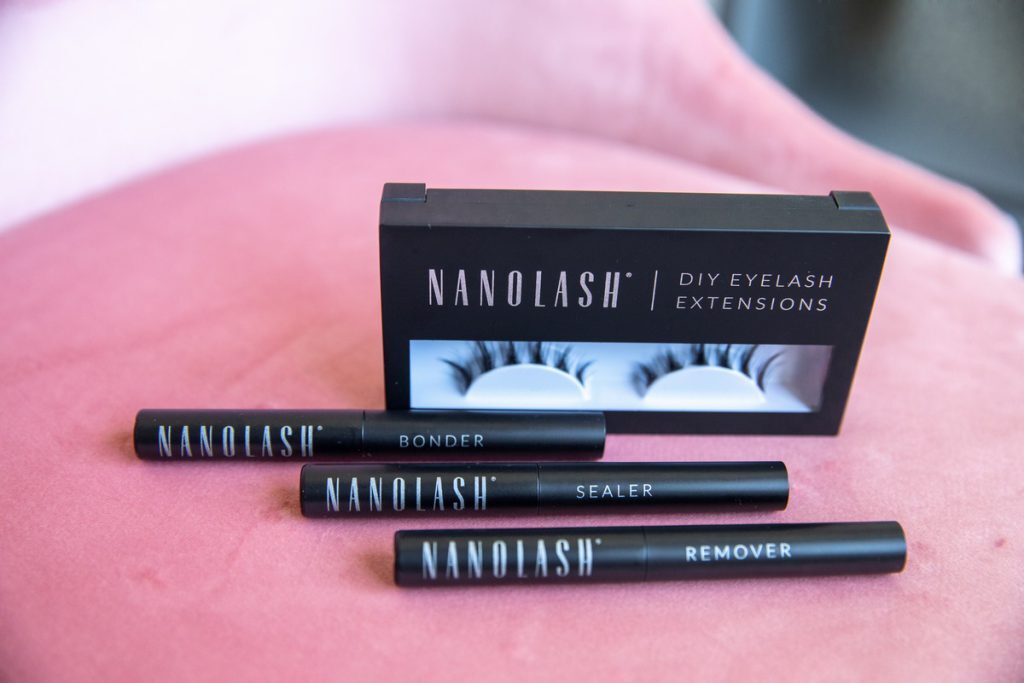
I made an order for my lash clusters; the case contained 36 clusters in three sizes: 10 mm, 12 mm, 14 mm. I also noticed the brand has a ready-to-use lash extensions kit too. In addition to the clusters, the set includes the Nanolash accessories such as bonder, remover, tweezers and sealer.
Unboxing the DIY Lash Extensions From Nanolash
Thankfully the package was delivered fast. The unboxing of the DIY cluster lashes went well.
The lash wisps turned out soft-feeling as well as extremely flexible. They’re also vegan-friendly, which matters to me too. I also love the flexible, thin strip that the individual lashes are fitted to. I think it’s great because it blends with the natural eyelash line seamlessly.
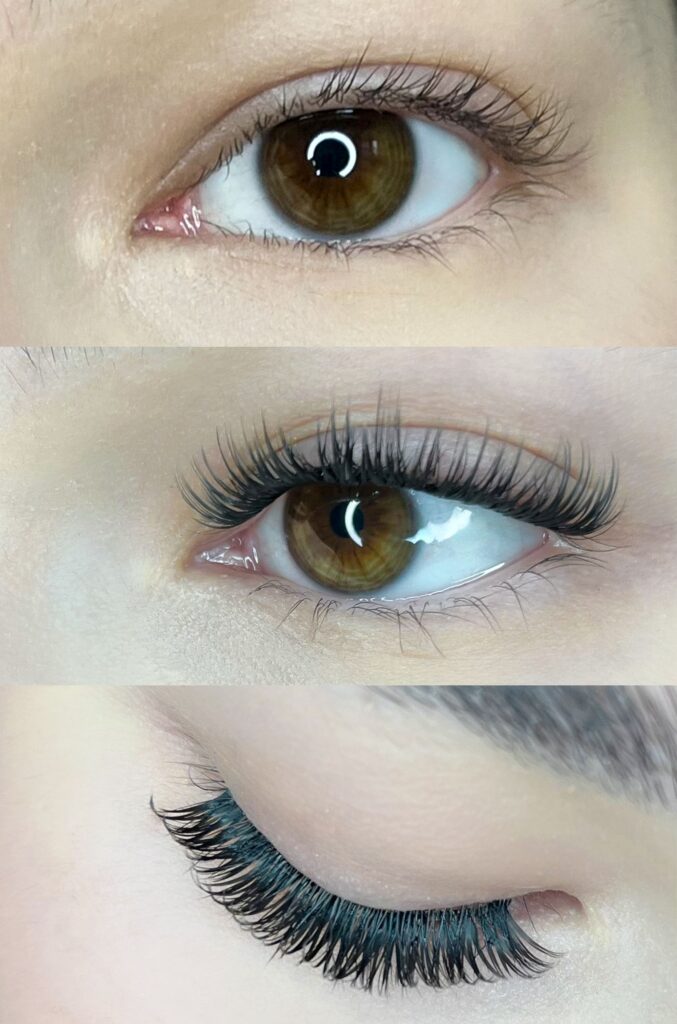
The lash clusters come in eight styles. The ones I applied perfectly mimic real lashes but I guess it’s not about the styles; the quality material takes the credit.
Does the application of the cluster lashes DIY Lash Extensions take only 10 minutes?! Yep!
The manufacturer makes daring promises: the application of the DIY eyelash extensions are to take just 10 minutes. It shouldn’t take longer even for those with less experience in applying cluster lashes. Well, I couldn’t help myself – I used a timer!
I read the directions for use; they were clear and logical. First I removed my makeup and then:
- I applied a thin coat of the bonder all over the lashes; I waited around 30-60 seconds so that it could become sticky enough.
- During that time, I picked out the lashes clusters.
- I used the tweezers to place the false lashes under the natural lashes, around one millimeter away from the water line, and pressed them gently.
- To finish, I applied the sealer and removed the sticky layer.
I checked the timer. It showed 09:43. As promised, the DIY volume lashes application didn’t cause any trouble and took little time.
Now let me tell you how long cluster lashes from Nanolash lasted!
The DIY lash cluster extensions staying put for five days is another promise the brand makes. Sounds promising…
I put on the cluster lashes right before my vacation. It was quite risky; nobody wants to waste time fixing their lashes in the middle of vacation, right? I was afraid the heat would have a bad effect on the lash glue but… nothing ventured, nothing gained.
The lash clusters stayed untouched for the promised five days. Then, I was pleasantly surprised because the wisps looked good and stayed in place even after I came back from vacation. I wore them for eight days! I followed lash extensions aftercare and tried to sleep on my back. I think that’s what made the cluster lashes last longer.
I decided to take them off just to see whether they’d fit for reuse. The manufacturer claims these are cluster lashes for single use.
I removed the lash glue residue with the remover. I think they still looked lovely and good for reuse.
DIY Eyelash Extensions from Nanolash – final remarks
The lash clusters – DIY Eyelash Extensions – are premium lash wisps that I’m super happy with. The DIY eyelash extensions from Nanolash are:
- soft
- flexible
- and cruelty-free
Plus, they mimic real lashes and there’s no unnatural look. DIY cluster lashes Nanolash are easy to apply; application takes 10 minutes tops. The ability to stay put depends on aftercare, but you can be sure of wearing them for at least five days.
The DIY Eyelash Extensions come in different styles and lengths. One day I could do Russian Volume, and then achieve a more subtle effect some other time. Wrapping up, I recommend checking them out for yourself!